Personal Projects

Personal Projects

Preemiequilts

When I visited Germany to see my mom this past summer, I took eight little preemiequilts across the Atlantic with me. I had completely forgotten about them until I came across the pictures a few days ago. I still make them using the same basic approach: selecting a suitable feature fabric for the outer border and back, then adding squares from my leftovers until the top is complete. They are quick and fun to make, and I am happy to continue supporting this project even from a continent away.

Personal Projects

Nancy’s Modern Blocks – The Last of the Summer Finishes

I seemed to have hit a productive streak back in July and August, finishing so many quilts during that period. Today, I am excited to share the last one from that batch. This quilt was part of a Block of the Month project at one of my guilds, and at first, I was unsure about joining. Even though there was no pressure and many members chose not to participate, I felt an internal push to join. So, without being fully convinced, I decided to go for it.

Don’t get me wrong – there was nothing wrong with the project, the design, or the blocks. The issue was more about me knowing that I never have enough time to sew everything I want to. Adding more to my to-do list, especially projects I am not 100% excited about, is not always the best idea.

There were nine blocks in total, but I ended up dropping out after block six. From the start, I knew this quilt was not one I planned to keep – I already have plenty scattered throughout my home. To make it, I used fabrics from my (admittedly quite small) stash, aiming for my usual bright and bold colours, and I am really pleased with how it turned out. I joined the six blocks with white sashing, which created the effect of “floating blocks.” To complete it, I added a border of squares made from leftover scraps of the main fabrics and used the rest for a multi-coloured binding.

Nancy's BOM

The finished quilt ended up being a bit larger than the Charm Pack Quilt but still small enough to work as a children’s quilt, so I donated it to the Meadow Rose Society as well. It felt great to complete all these quilts, clear them out of the house, and donate them to those who could benefit from them more.

Personal Projects

Charm Pack Quilt

The next quilt in line was one made from a Charm Pack. I usually do not buy precuts, as I never know what to do with them. But I could not resist this one when I saw it at a quilt show – it was just so pretty. The fabric line is “Bee Vintage” by Lori Holt for Riley Blake Fabrics. With its charming mix of vintage florals and cheerful hues, it was perfect for a special project.

Now, what to do with it? I searched online for charm pack quilt ideas and found one that I really liked on Sew Me, a blog written by Sarah in Northern Ireland. You can find the pattern here.

It was very easy to put together, and I completed the top in just an afternoon. I quilted it fairly soon afterwards and once again used the curving stitch to create a binding that was done entirely by machine.

Charm Pack Quilt

This little quilt finishes at approximately 38″ x 42″, so I decided to donate it to a different charity, the Meadow Rose Society. This organization provides basic needs to children under four for families experiencing financial crisis, and I thought this small quilt would help keep a child warm and cozy.

Personal Projects

Renate’s Scrap Quilt – The Next Version

After completing the Jelly Roll Quilts, another donation quilt was waiting to be finished. This was my ‘leaders and enders’ project, inspired by my friend Renate’s idea of alternating light and dark fabrics to create this pattern. Sewing time was limited over the past year, so finishing this top took a little longer than expected. But once it was finally done, I quilted it right away, and it has since been donated to the Ann Davis Transition Society. And, of course, I have already started on the next one!

Renate's Scrap Quilt

Whenever I post one of these quilts, people ask about the pattern. There actually is no official pattern – the large squares are simply 4 inches, seam allowances included. From this starting size, you cut them in half to create rectangles and into quarters for smaller squares. I have written a bit more on how to put it together in this post.

Personal Projects

Jelly Roll Race Quilts

You might remember that I won the “Left, Right, Centre” game at last year’s guild Christmas party and ended up with a hotchpotch of 120 jelly roll strips in every colour and pattern imaginable. It only took me a day or two to decide what to do with them – since they were all so mismatched, a Jelly Roll Race quilt felt like the perfect solution. I had never made one before, but I knew of the pattern, and plenty of instructions are available online.

Jelly Roll Race 1

I actually finished two of the tops right away – they were done before New Year’s! The third one, however, had to wait until summer, but as soon as I wrapped that up, I quilted all three of them. I also finally found a method for binding quilts entirely by machine that works well for donation quilts. For my own quilts, though, I’m still a bit picky and will probably always take the time to stitch the binding down by hand – I’m just not fond of the flat look that machine binding tends to create. My trick is to use a decorative stitch instead of a straight one. There’s a lovely curved stitch on my machine that meanders over the binding edge, making any irregularities on the back less obvious.

Jelly Roll Race 2

All three quilts have been donated to a local charity, the Ann Davis Transition Society. One of our guilds regularly provides them with quilts, and I know from past deliveries that they try to give as many quilts as possible to the children who come seeking shelter with their mothers. Supporting this effort means a lot to me.

Jelly Roll Race 3

Personal Projects

Sew Many Bags: My Travel and Wallet Projects

Back in November 2022 at a guild meeting, three members presented a trunk show featuring all the bags, purses, and wallets they had made. I hadn’t made a bag in about ten or twelve years, but when I saw one member’s “Ultimate Travel Bag” (a By Annie pattern), I fell in love immediately. So, when the Black Friday sale at the quilt shop came around, I went ahead and bought the pattern, fabrics, and all the other supplies. By Annie has fantastic video instructions on their website, and although it took me a while and was a bit fiddly at times, I finished the bag. I even had enough leftover fabric to make a smaller project called “Easy Does It” (a By Annie pattern).

Ultimate Travel Bag & Easy Does It

My cats loved the bag as much as I did—they climbed all over it and even inside, thinking it was the best adventure playground.

Lexi & Lucy Travel Bag 5

The guild friend whose bag had inspired me mentioned that she ended up making four of them because all her friends loved it and wanted one, too. So, I decided to make another one for my mom before flying to Germany to visit her in June 2023. Once again, I had enough leftover fabric to make her a matching “Easy Does It” bag as well.

Ultimate Travel Bag & Easy Does It Set

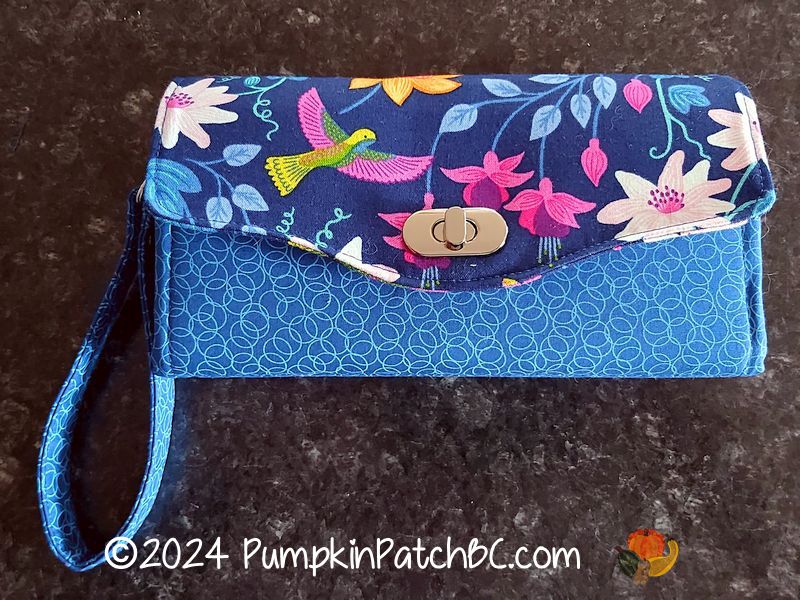
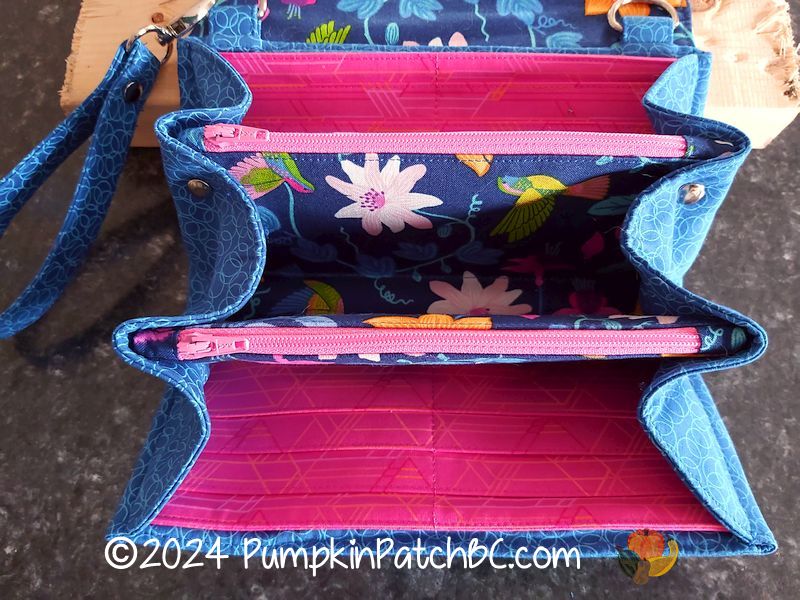
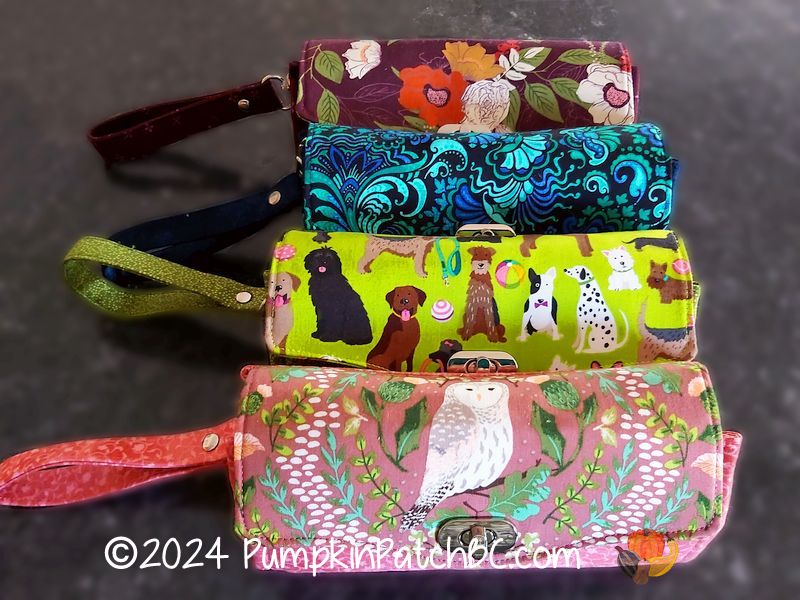
Have you ever heard of the “Necessary Clutch Wallet” (an Emmaline pattern)? I’m not sure where I first came across it, but I remember my friend Connie had made one, and I really liked it. Since I was already in bag-making mode, I decided to give the NCW pattern a try after finishing the travel bag sets. And wow, was it addictive! I made one for myself and then four more to give to friends and my mom. There’s a whole community out there hooked on making these clutch wallets, with excellent video tutorials, and I found it easy to follow along. Once I got the hang of it, I set up my own little assembly line and had them all done before leaving for Germany last year.

NCWs

During my 2023 trip, I realized the “Ultimate Travel Bag” was a bit too big for my liking. While it is the right size for airline carry-on luggage, I don’t usually bring that much with me on board, and I found it cumbersome to lug around. I had already bought another pattern, the “Executive Carryalls” (also By Annie), which are designed as laptop bags. The pattern has two options: a smaller laptop cover and a slightly larger bag with room for extra items. Since we had booked a trip to New Zealand for February 2024, I decided to make the bigger laptop bag to see if its size would work better as my carry-on. Once again, I had enough leftover fabric to make a matching “Easy Does It” bag.

By Annie Executive Carryall

By Annie Easy Does It

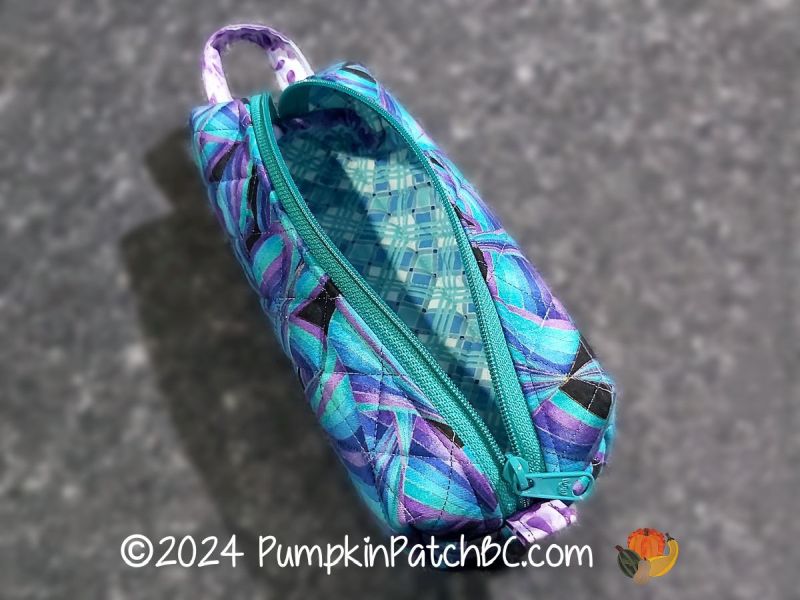
I also made the larger version of the Quick Zip Cases (another By Annie pattern). It was meant to be a quick Sunday afternoon project – though it took a bit longer since I put the zipper in the wrong way! But in the end, I was really happy with how it turned out.

My two “Easy Does It” bags, the Zip Case, and the Clutch Wallet all fit perfectly into the Executive Carryall, along with my glasses, phone, and the few other odds and ends I needed for the flight. I’m much happier with this smaller version of carry-on luggage.

Personal Projects

Round Robin Four Seasons

I just realized that I never posted pictures of my Covid Round Robin project. We started it in the fall of 2020 with the guild, to keep us occupied during the first winter of Covid when we couldn’t have any guild meetings. Four people formed a group, and there were basically no rules, each group could do whatever they wanted. Most did a real Round Robin, one group did a Row Robin and my group decided to just do a Block Robin. I picked the four seasons as my theme and made a spring block with flowers, Easter eggs and a butterfly. Connie was next and chose to make a poinsettia for the winter block. Evelyn’s block is an amazing summer garden scene with birds and sunflowers and another butterfly. Kim had to take what was left and created an autumn scene with pumpkins and a squirrel.


I actually finished the quilt rather quickly. I believe the last exchange was in March or April of 2021, and I had it assembled, quilted and bound by June 2021. Orange is not usually my favourite colour but with the blocks I had it seemed like the best choice for sashing and borders. I custom quilted it, trying to find background filler designs that matched the theme of the blocks. It was in the quilt show this October and is now hanging on the wall in front of me, over my desk which finally made me realize that I never took pictures of it, an oversight that I corrected immediately 🙂 I am quite happy with the way it turned out.

Round Robin Four Seasons

Personal Projects

Preemiequilt Collection

Even though I haven’t been to Germany since the beginning of Covid, I am still sewing preemiequilts. These eight are from 2020 and 2021. I am hoping to visit my mom again next year, and hopefully I’ll have eight more little quilts ready by then. I usually have one feature fabric that I buy on sale and use for the back and outer border, and then make up the rest from my leftovers and stash. The NICUs prefer to have just a few seams and not too much quilting, so I usually just stitch 4 inch squares together and quilt through them diagonally.

Preemies 1


Preemies 2

Longarm, Personal Projects

Another We Care Scrap Quilt

I finished another scrappy donation quilt this month, using my favourite scrap pattern. I often custom quilt donation quilts as well, they are great practice objects but I didn’t have time to play around, so I used a pantograph instead that I have wanted to try for quite a while. It is called “Chiffon” and I have used it in a smaller version as a background filler but never in the default edge-to-edge size. That’s another really neat thing about scrap quilts, almost any quilting design will work. This one has already been donated to the guild, and I have started making another donation quilt, a great way to use up leftovers and do something useful.

We Care Scrap Quilt


Edit: Every time I post a picture of one of these, people start asking for the pattern in the comments. There isn’t a pattern that you can purchase. This is something that one of my German friends came up with years ago.  I’ll try to explain, maybe you can figure it out by just looking at the pictures. You alternate light and dark fabrics and always press the seams away from the light pieces. I put it together in rows, I find that easier than looking for blocks. The big squares are 4″ squares (including seam allowance, so 3 1/2″ finished size). The small squares are 2″ squares, the rectangles are 2″ x 4″. This means you can just start with 4″ squares and cut them into the smaller pieces (halves and quarters) as needed, without having to worry about seam allowances. They will fit together. You can actually do this with any size squares… if you start out with 5″ squares and cut them in half or quarters, you can put it all together without having to worry about the math.

This might sound a bit confusing but just take a few 4″ squares in light and dark values and give it a try. It’s super easy, and you can make the quilt as big or small as you want to.

Personal Projects

Drawing Tablet Case

This weekend, I managed to do some spontaneous personal sewing. I bought a drawing tablet last year, and I have been meaning to make a case for it ever since but somehow never found the time. Or didn’t feel like doing it when I actually had some time. Turns out that once I started, it didn’t even take long. I have made a lot of these cases for all kinds of things over the years, it is easily adaptable to any size. I can never remember how to actually put it together, there is no real pattern, and it can be quite confusing to figure out which piece goes where and how to turn it all inside out, so that none of the seams are visible in the end. I think I was also a bit confused about metric and Imperial measurements and added too much extra fabric on the sides, so the case isn’t as snug as I would like it to be, but hey, that’s better than the other way around, and I am definitely not going to start over. I used Kamsnaps as buttons, and I didn’t have regular round ones in a suitable colour, so I went with the little flower heads and added a few more tiny buttons along the edge, just for fun. I like it although I am surprised that I managed to produce something for my personal use that is not pink 😉

Drawing Tablet Case


Scroll to Top