

- measure the length of the quilt top in the centre and two other places but not along the edges
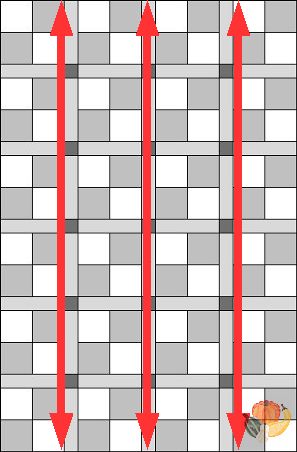
Measure length of quilt top in three places
- Determine the average measurement by adding the three measurements and dividing by 3.
- Cut two borders to this length and the width required by the pattern.
- On one side, match the center of the quilt top to the center of one border strip, then pin.
- Match and pin the corners.
- Divide the remaining quilt top and border edges into halves and quarters, then match and pin them, easing in any extra fullness. Use enough pins to distribute the fabric evenly.
- Sew and press, then attach the second border to the opposite side of the quilt top, repeating the process.
- For the top and bottom borders, measure the quilt top width in three places, find the average, and repeat the process.
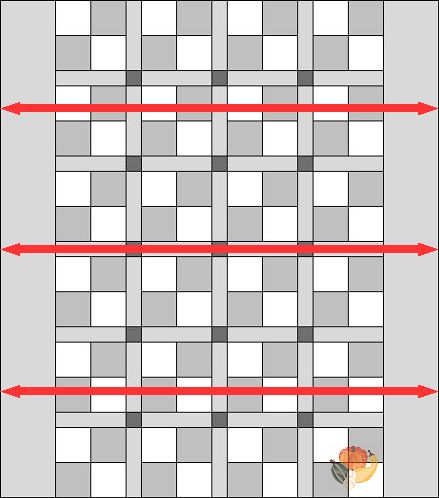
Measure width of quilt top in three places
It may be tempting to quickly attach the borders, stitch them down, and cut off the excess fabric. However, this method can lead to problems. Even if your pattern suggests this approach — unfortunately, some commercial patterns do — it is essential to properly construct your borders. If you want to understand why the “Slap and Sew” method can cause fullness and wavy borders, check out this informative article by Carole Carter of “From My Carolina Home” (which includes helpful pictures).