

General Information
- Please bring your quilt top, batting, and backing as three separate layers. Basting is not necessary for longarm quilting. I offer 80/20 batting for purchase in 96″ and 120″ widths.
- After pressing, lay out all three layers on top of each other for a visual check. Mistakes in measuring and cutting happen—this is a quick way to avoid any unpleasant surprises later on.
- The best way to transport the three layers is on a hanger. Fold each layer separately following the instructions in the pictures below. When folded lengthwise and placed on a hanger, the layers will have fewer creases, and I will know which direction to load them onto the frame.
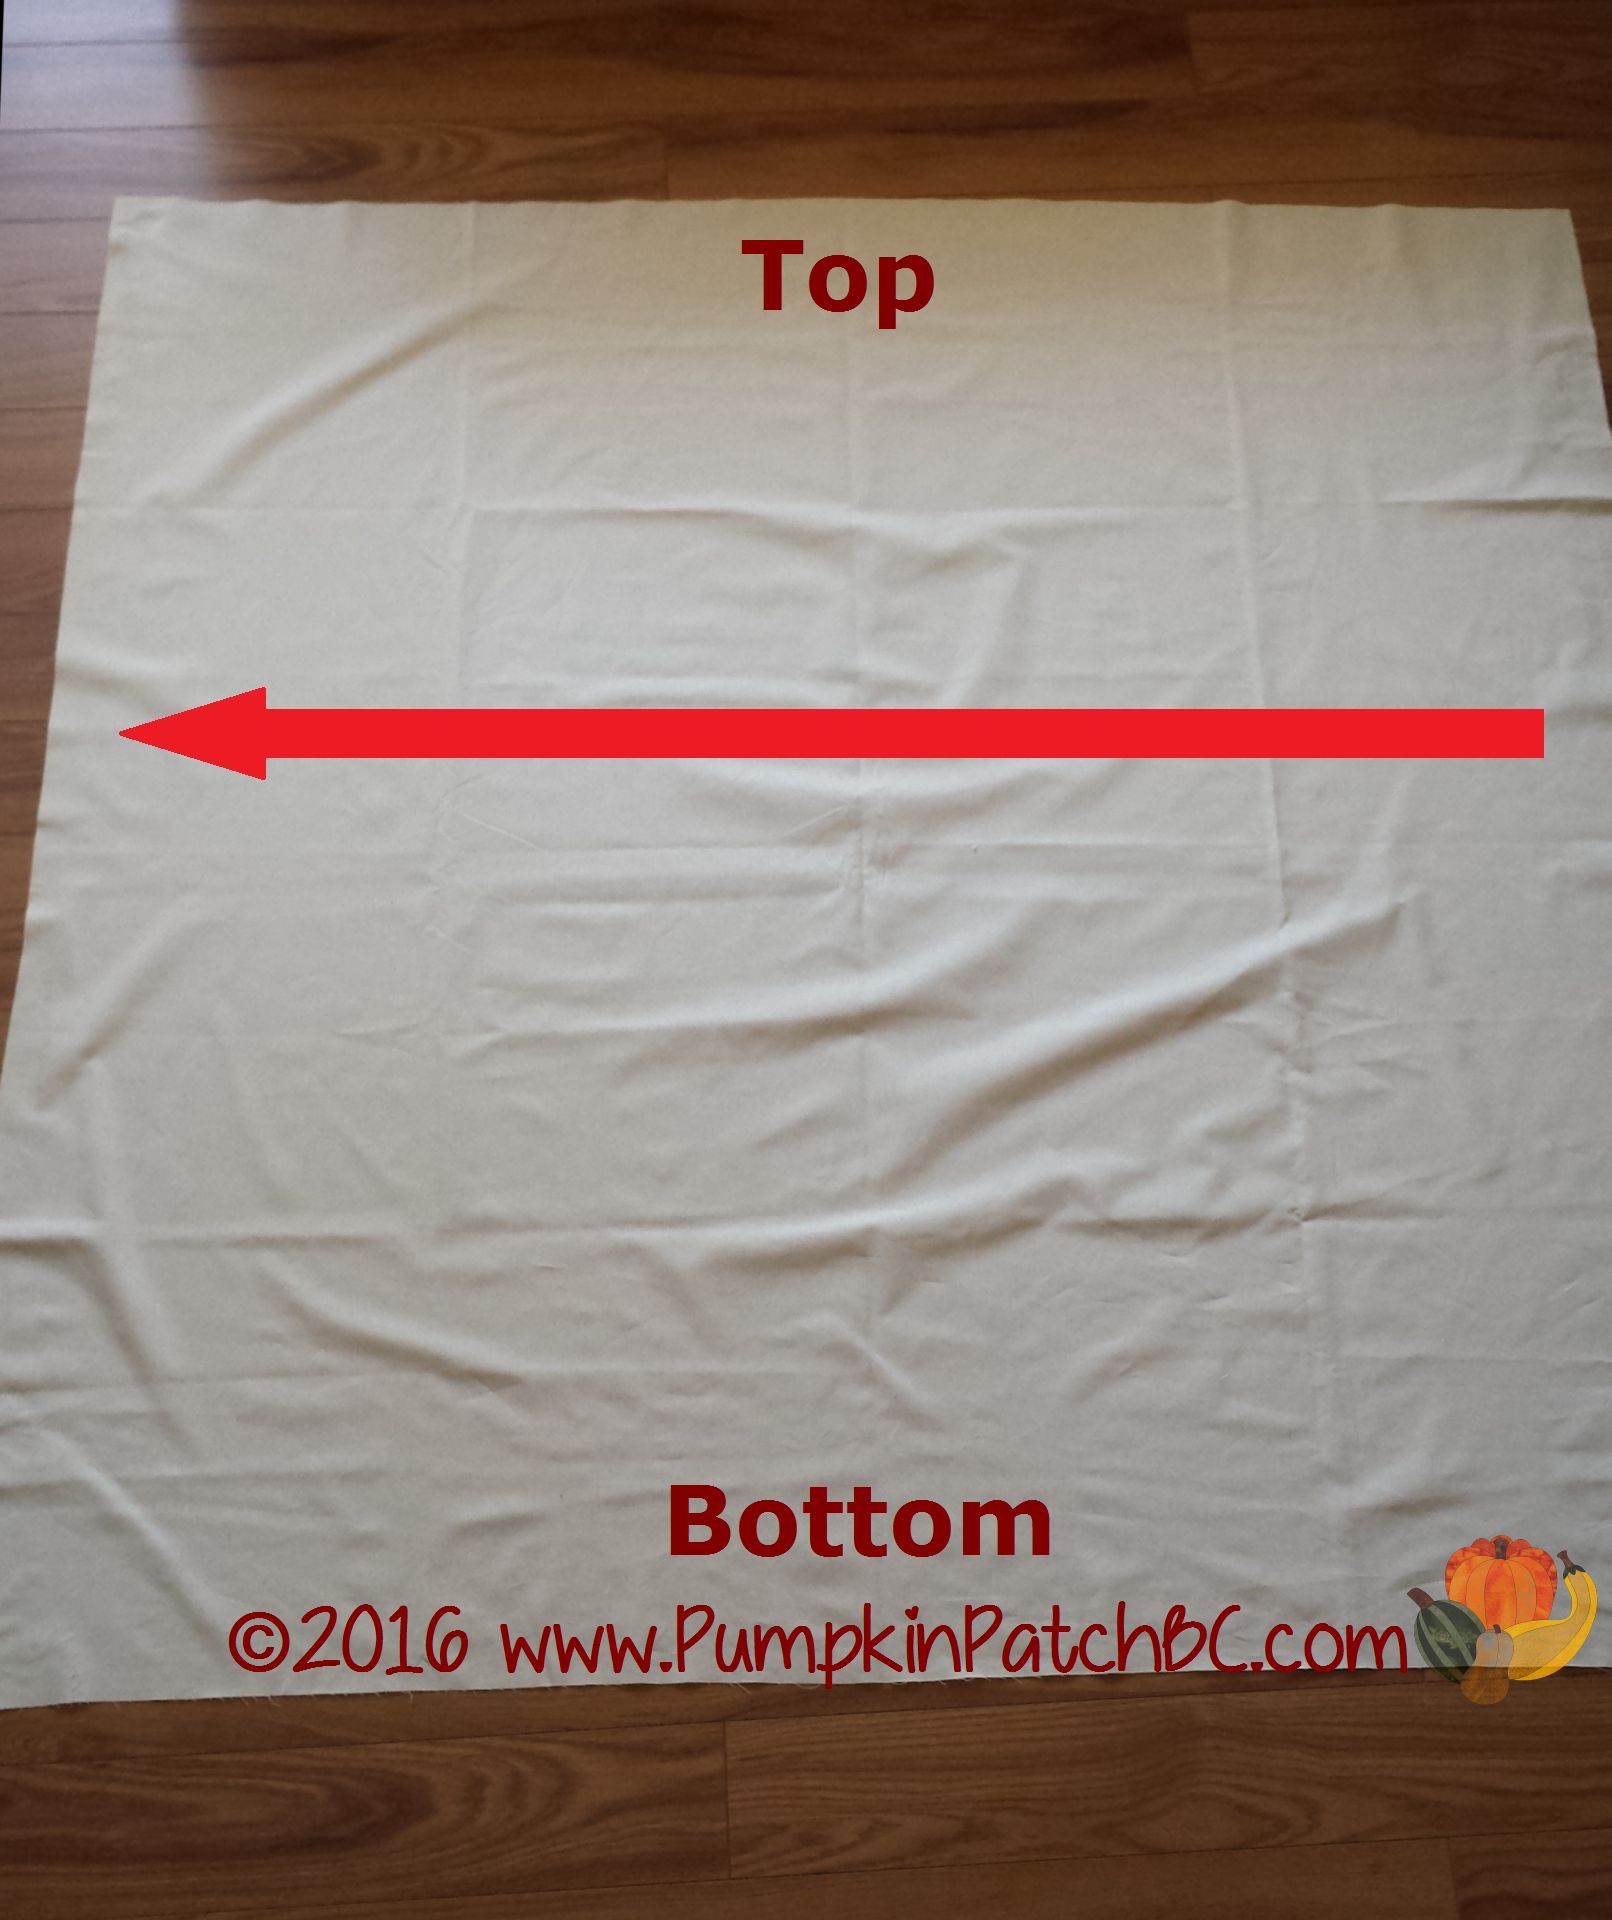
Fold in half lengthwise
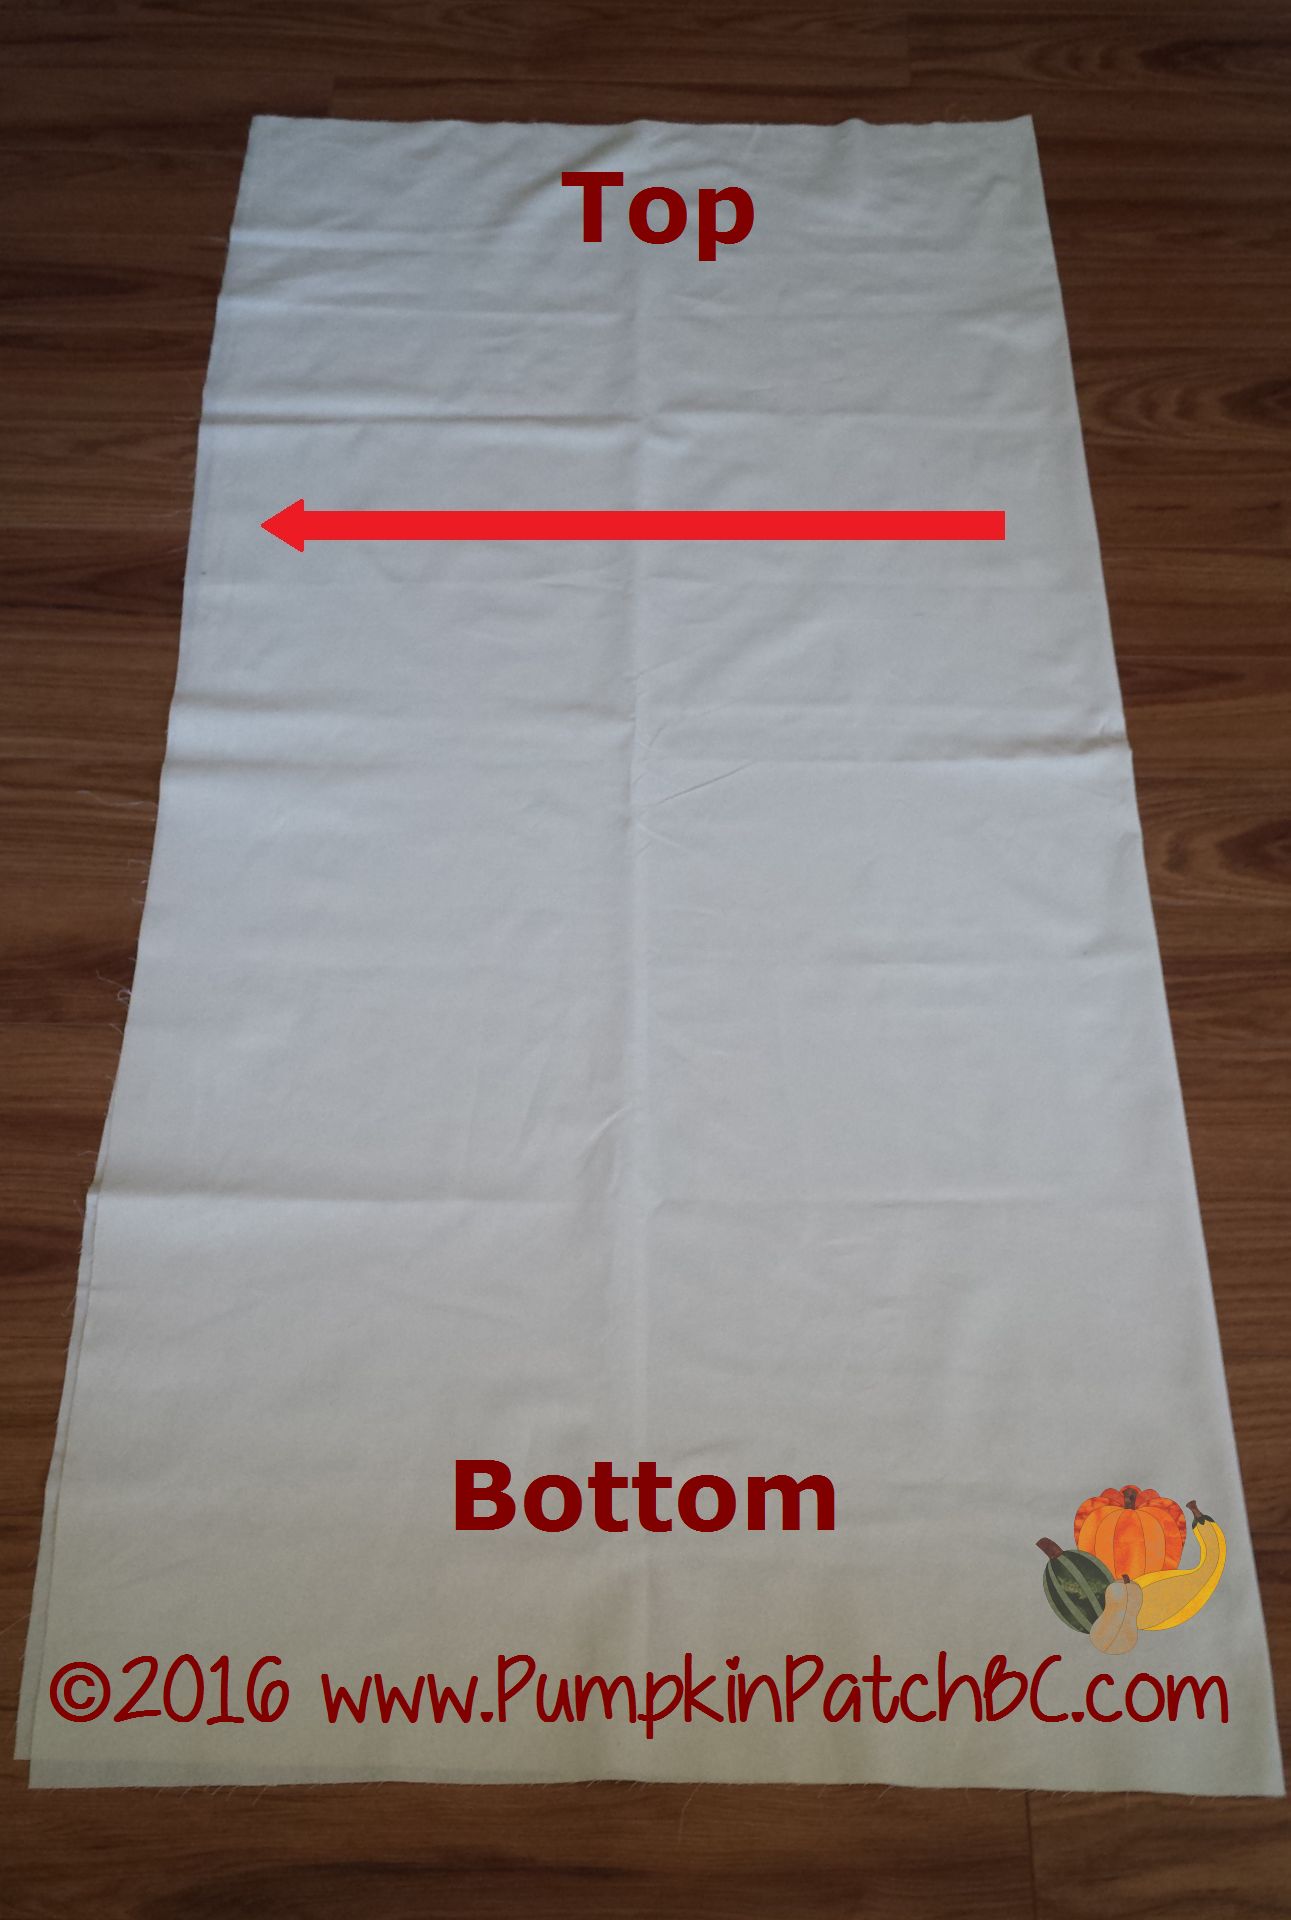
Fold in half lengthwise again

Repeat until width fits a regular hanger

Place on hanger

Repeat with other two layers
Preparation of the Layers
Quilt Top
- Press and square your quilt top, and trim any stray threads
- While pressing all seams open isn’t necessary, seam allowances at thick intersections should be fanned. Click here for instructions on fanning seam allowances.
- Do not add any embellishments, like beads or buttons, before the quilt is quilted.
- Stabilize the edges of your quilt top with stay stitching to prevent seams from unraveling.
- If your quilt top is directional, mark the top with a safety pin.
- Please note: Fullness and puckers in the quilt or borders cannot be quilted out, and I cannot guarantee that puckers and tucks won’t be sewn in. Full borders may also cause the quilt corners to be out of square. The flatter your quilt top, the better the final result will be.
- Proper border construction is crucial for a flat quilt top. Click here for instructions on constructing borders.
- If you plan to scallop the edges, cut them after quilting.
- Please note: I no longer accept quilt tops for longarm quilting that contain Steam-A-Seam. Fusible machine appliqué is fine, but choose a less dense and sticky fusible product. Quilting over Steam-A-Seam causes skipped stitches and thread breaks, which are too time-consuming to fix.
Batting
- If you purchase my batting, I will cut it 8″ larger than your quilt top.
- If you bring your own batting, ensure it is at least 4″ larger than your quilt top on all sides (8″ larger in both width and length).
Backing
- When joining fabric for backing, trim the selvages. The backing should be pressed and squared.
- Fewer seams are easier to manage on a longarm frame, and extra-wide backing with no seams is the best option. If piecing the backing, horizontal seams are preferred, as vertical seams can distort on the rollers due to bulk. Note: Depending on your chosen design, I may be able to load the quilt sideways and quilt top-to-bottom instead of left-to-right. Consider this when piecing your backing.
- When joining backing fabric, cut a wider seam allowance (1/2 inch instead of 1/4 inch), set your machine to a shorter stitch length (about 1.5 mm), and press the seams open.
- It is not possible to center the quilt top over the backing in both directions. For example, backing with a border may appear “off” in the final product, which is why a single piece of fabric is the better option.
- Your backing should be about 6″ larger than your quilt top on all sides to attach to the longarm frame rollers. For example, if your quilt top measures 90″ x 60″, your backing should be about 102″ x 72″.
- Please note: Bedsheets will not be accepted as backing fabric. They are typically thin with a high thread count, which causes the needle to punch holes rather than separate threads. This leads to bearding, resulting in poor-quality quilting.
It is essential not to cut your backing too small. For a more detailed explanation of why I require it to be 6″ larger all around, please click here.