Pink Roses
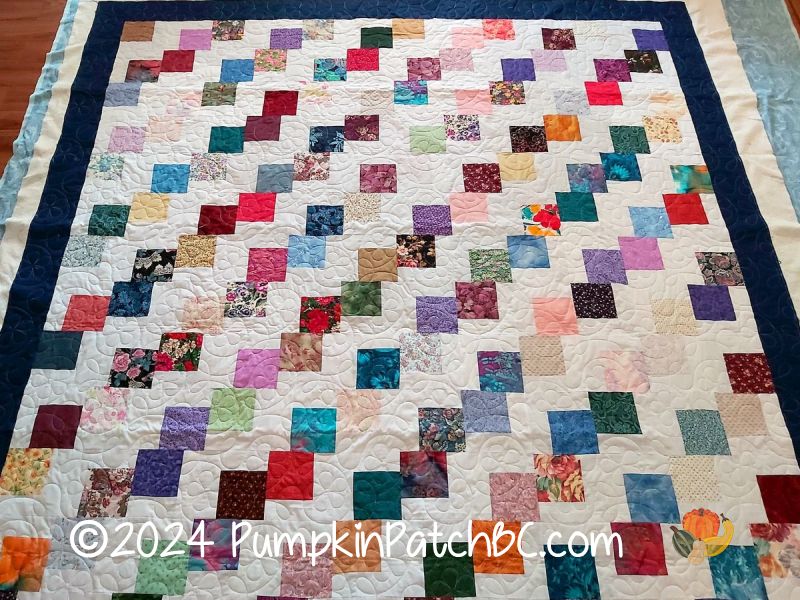
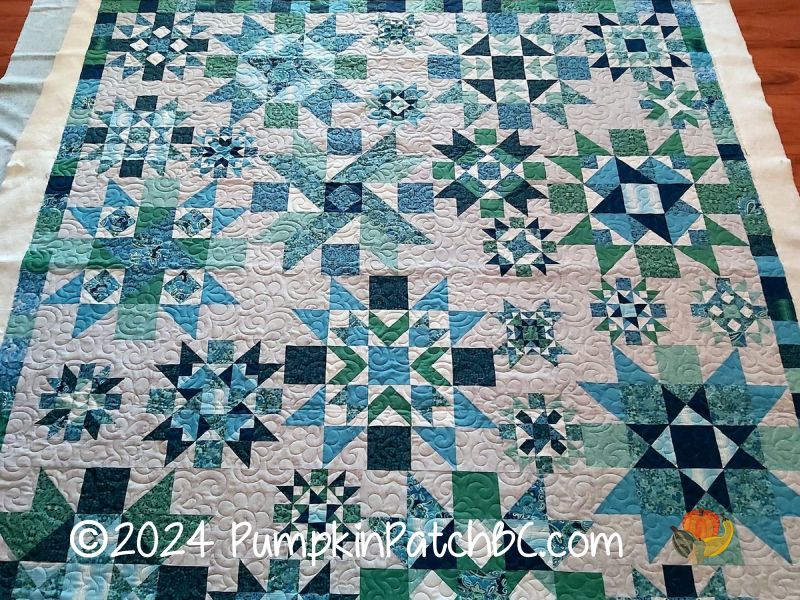
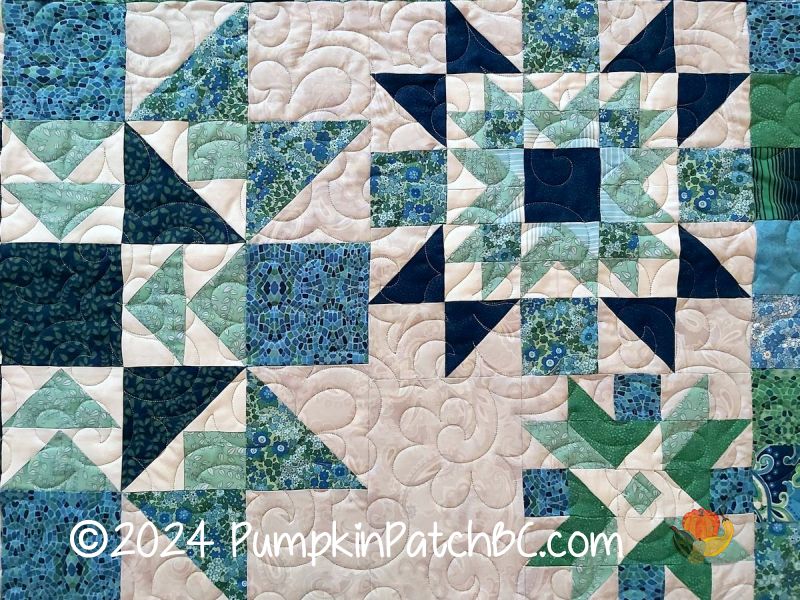
Although I have not focused much on my patterns over the past year, I have continued quilting for customers, though not as frequently as before. It has been a while since I shared pictures of customer quilts, so it seems like the perfect time for some eye candy. Going forward, I plan to simplify the format of these posts. Unless there is an interesting story behind a quilt, I will provide just the essential details: the name of the quiltmaker, the name of the pantograph, and, if there is interest, the thread colour used.
Made by: Angela H.
Pantograph: Ground Cover by Keryn Emmerson
Thread: Glide 70177 Tango
HedgeHUGS – The Complete Pattern
The complete pattern for the HedgeHUGS quilt, which was last year’s Block of the Month, is now available. I finished this quilt some time ago, and it was showcased at the 2023 Chilliwack Quilt Show. Although I had not taken proper photos or compiled the pages until now, I am pleased to announce that it is finally complete.
For all twelve blocks, I used the same background pattern: a pantograph called Fall Leaves by My Creative Stitches, resized to about 4 inches to serve as a background filler. The sashing design, Swirling Suzie, also by My Creative Stitches, features a simple leaf motif that complements the sashing and border fabrics, which are already quite busy and did not require elaborate quilting. Since there was no matching corner pattern for this sashing, I selected Simple Leaves Block #3 by Jessica Schick for the corners. The outer border pattern is Fall Foliage by Patricia Ritter.
![]()
If you missed most or all of the blocks last year, you can now purchase the complete pattern, which includes all twelve blocks and finishing instructions. Use the code HUGS20 at checkout to receive an additional 20% discount. This offer is valid until November 22, 2024, at 11:59 PM PST.
Für die deutsche Version mit metrischen Maßen bitte dem Kauflink unten für die englische Version folgen und beim Checkout angeben, dass die deutsche Version gewünscht ist. Ich verschicke dann per email die Anleitung in der gewünschten Sprache.
Nancy’s Modern Blocks – The Last of the Summer Finishes
I seemed to have hit a productive streak back in July and August, finishing so many quilts during that period. Today, I am excited to share the last one from that batch. This quilt was part of a Block of the Month project at one of my guilds, and at first, I was unsure about joining. Even though there was no pressure and many members chose not to participate, I felt an internal push to join. So, without being fully convinced, I decided to go for it.
Don’t get me wrong – there was nothing wrong with the project, the design, or the blocks. The issue was more about me knowing that I never have enough time to sew everything I want to. Adding more to my to-do list, especially projects I am not 100% excited about, is not always the best idea.
There were nine blocks in total, but I ended up dropping out after block six. From the start, I knew this quilt was not one I planned to keep – I already have plenty scattered throughout my home. To make it, I used fabrics from my (admittedly quite small) stash, aiming for my usual bright and bold colours, and I am really pleased with how it turned out. I joined the six blocks with white sashing, which created the effect of “floating blocks.” To complete it, I added a border of squares made from leftover scraps of the main fabrics and used the rest for a multi-coloured binding.
The finished quilt ended up being a bit larger than the Charm Pack Quilt but still small enough to work as a children’s quilt, so I donated it to the Meadow Rose Society as well. It felt great to complete all these quilts, clear them out of the house, and donate them to those who could benefit from them more.
Charm Pack Quilt
The next quilt in line was one made from a Charm Pack. I usually do not buy precuts, as I never know what to do with them. But I could not resist this one when I saw it at a quilt show – it was just so pretty. The fabric line is “Bee Vintage” by Lori Holt for Riley Blake Fabrics. With its charming mix of vintage florals and cheerful hues, it was perfect for a special project.
Now, what to do with it? I searched online for charm pack quilt ideas and found one that I really liked on Sew Me, a blog written by Sarah in Northern Ireland. You can find the pattern here.
It was very easy to put together, and I completed the top in just an afternoon. I quilted it fairly soon afterwards and once again used the curving stitch to create a binding that was done entirely by machine.
This little quilt finishes at approximately 38″ x 42″, so I decided to donate it to a different charity, the Meadow Rose Society. This organization provides basic needs to children under four for families experiencing financial crisis, and I thought this small quilt would help keep a child warm and cozy.
Renate’s Scrap Quilt – The Next Version
After completing the Jelly Roll Quilts, another donation quilt was waiting to be finished. This was my ‘leaders and enders’ project, inspired by my friend Renate’s idea of alternating light and dark fabrics to create this pattern. Sewing time was limited over the past year, so finishing this top took a little longer than expected. But once it was finally done, I quilted it right away, and it has since been donated to the Ann Davis Transition Society. And, of course, I have already started on the next one!
Whenever I post one of these quilts, people ask about the pattern. There actually is no official pattern – the large squares are simply 4 inches, seam allowances included. From this starting size, you cut them in half to create rectangles and into quarters for smaller squares. I have written a bit more on how to put it together in this post.
Jelly Roll Race Quilts
You might remember that I won the “Left, Right, Centre” game at last year’s guild Christmas party and ended up with a hotchpotch of 120 jelly roll strips in every colour and pattern imaginable. It only took me a day or two to decide what to do with them – since they were all so mismatched, a Jelly Roll Race quilt felt like the perfect solution. I had never made one before, but I knew of the pattern, and plenty of instructions are available online.
I actually finished two of the tops right away – they were done before New Year’s! The third one, however, had to wait until summer, but as soon as I wrapped that up, I quilted all three of them. I also finally found a method for binding quilts entirely by machine that works well for donation quilts. For my own quilts, though, I’m still a bit picky and will probably always take the time to stitch the binding down by hand – I’m just not fond of the flat look that machine binding tends to create. My trick is to use a decorative stitch instead of a straight one. There’s a lovely curved stitch on my machine that meanders over the binding edge, making any irregularities on the back less obvious.
All three quilts have been donated to a local charity, the Ann Davis Transition Society. One of our guilds regularly provides them with quilts, and I know from past deliveries that they try to give as many quilts as possible to the children who come seeking shelter with their mothers. Supporting this effort means a lot to me.
Aotearoa – Exploring the Land of the Long White Cloud
We spent most of February in New Zealand, a trip we had been looking forward to for ages. But just five days before we were set to leave, Air New Zealand cancelled our flight! You can imagine we didn’t get much sleep that night after seeing the email. Thankfully, the next day, we managed to sort everything out – they rebooked us on the same flight a day early. After a frantic scramble to find a rental car and hotel for the extra night, we were all set and even got an extra day to enjoy our trip!
We took thousands of pictures, and I could talk for hours about the trip – but I’ll try to rein myself in and keep it as short as possible. (If want to see a larger version of a picture, just click on it.)
Our journey started with a non-stop flight from Vancouver to Auckland. Thanks to the time difference, we landed at 5 a.m. Stepping out of cool, rainy Canada into a beautiful summer day in Auckland was such a treat! We also loved New Zealand’s coffee culture; really good coffee prepared with love was available everywhere.
From Auckland, we drove south toward the east coast and the Coromandel Peninsula.
Naturally, Hobbiton near Matamata was a must-see. I’m not the biggest Lord of the Rings fan – fantasy just isn’t my genre – but my husband is, and I enjoyed the books and movies enough to appreciate the chance to see all the LOTR locations in New Zealand.
From there, we headed to the thermal areas of the North Island around Rotorua. We are big fans of Yellowstone and fascinated by geysers, so we were thrilled to see what New Zealand has to offer in terms of thermal features.
We also spent some time hiking in Tongariro National Park, another spot Peter Jackson used for LOTR filming. We even managed to find the location of Gollum’s Pool!
Just north of Wellington, we stopped at Kaitoke Regional Park—the filming location for Rivendell.
Sightseeing in big cities isn’t really our thing, but we did spend some time exploring Wellington, especially in and around the parliament buildings.
From Wellington, we took the Interislander Ferry across the Cook Strait to the South Island.
The next day, we spent our time on a day hike in Abel Tasman National Park.
From there, we headed down the west coast of the South Island, stopping at several locations like Cape Foulwind and the Tauranga Bay Seal Colony.
Following the coast, we visited Hokitika and the glaciers of the Southern Alps.
Then we crossed the mountains to Wanaka and continued onward to Queenstown. Beyond Queenstown and Glenorchy lies another area rich with LOTR filming locations, including the Dart River Valley, which served as the backdrop for Isengard.
Next, we stopped in Te Anau, our gateway to Fiordland National Park. From here, we explored the stunning landscapes with cruises on both Milford and Doubtful Sound.
We drove through Southland, stopping at lighthouses, hiking to waterfalls, and spotting plenty of seals, one sea lion on the beach, and a stunning sunrise at Nugget Point framed by a full double rainbow.
From Dunedin on the east coast, we turned inland again to visit Mount Cook National Park. We did a lot of hiking there – really the only way to explore it – and I set a personal record with nearly 26,000 steps that day.
We returned to the east coast to visit Christchurch and then headed to Akaroa. February isn’t the best time to see penguins in the wild, as the young ones fledge in January, and by the time we reached the penguin colonies on the South Island, the birds were already going through their “catastrophic moult.” During this phase, they lose and replace all their feathers at once and can’t swim, so they stay hidden away. We were able to take a tour with Pohatu Penguins to their colony in Flea Bay outside Akaroa, where we saw a few penguins in mid-moult. (The penguins are not bothered by people watching, as long as everyone stays very quiet.)
We spent our last morning in Christchurch at the International Antarctic Centre, which was another highlight of the trip.
Then we flew back to Auckland and from there to Vancouver. My husband was thrilled to see that the plane taking us back to Canada was adorned with All Blacks livery.
And of course, I visited as many quilt shops as I could and bought a ton of Kiwiana fabrics. I haven’t done anything with them yet – just brainstorming ideas for future projects. We will see what I can come up with!
Overall, it was a fantastic trip. If you think you can visit New Zealand once to “get it out of your system”, think again! We are definitely hooked and will try to go back when we can.
Sew Many Bags: My Travel and Wallet Projects
Back in November 2022 at a guild meeting, three members presented a trunk show featuring all the bags, purses, and wallets they had made. I hadn’t made a bag in about ten or twelve years, but when I saw one member’s “Ultimate Travel Bag” (a By Annie pattern), I fell in love immediately. So, when the Black Friday sale at the quilt shop came around, I went ahead and bought the pattern, fabrics, and all the other supplies. By Annie has fantastic video instructions on their website, and although it took me a while and was a bit fiddly at times, I finished the bag. I even had enough leftover fabric to make a smaller project called “Easy Does It” (a By Annie pattern).
My cats loved the bag as much as I did—they climbed all over it and even inside, thinking it was the best adventure playground.

The guild friend whose bag had inspired me mentioned that she ended up making four of them because all her friends loved it and wanted one, too. So, I decided to make another one for my mom before flying to Germany to visit her in June 2023. Once again, I had enough leftover fabric to make her a matching “Easy Does It” bag as well.

Have you ever heard of the “Necessary Clutch Wallet” (an Emmaline pattern)? I’m not sure where I first came across it, but I remember my friend Connie had made one, and I really liked it. Since I was already in bag-making mode, I decided to give the NCW pattern a try after finishing the travel bag sets. And wow, was it addictive! I made one for myself and then four more to give to friends and my mom. There’s a whole community out there hooked on making these clutch wallets, with excellent video tutorials, and I found it easy to follow along. Once I got the hang of it, I set up my own little assembly line and had them all done before leaving for Germany last year.
During my 2023 trip, I realized the “Ultimate Travel Bag” was a bit too big for my liking. While it is the right size for airline carry-on luggage, I don’t usually bring that much with me on board, and I found it cumbersome to lug around. I had already bought another pattern, the “Executive Carryalls” (also By Annie), which are designed as laptop bags. The pattern has two options: a smaller laptop cover and a slightly larger bag with room for extra items. Since we had booked a trip to New Zealand for February 2024, I decided to make the bigger laptop bag to see if its size would work better as my carry-on. Once again, I had enough leftover fabric to make a matching “Easy Does It” bag.


I also made the larger version of the Quick Zip Cases (another By Annie pattern). It was meant to be a quick Sunday afternoon project – though it took a bit longer since I put the zipper in the wrong way! But in the end, I was really happy with how it turned out.
My two “Easy Does It” bags, the Zip Case, and the Clutch Wallet all fit perfectly into the Executive Carryall, along with my glasses, phone, and the few other odds and ends I needed for the flight. I’m much happier with this smaller version of carry-on luggage.